Volume Grid
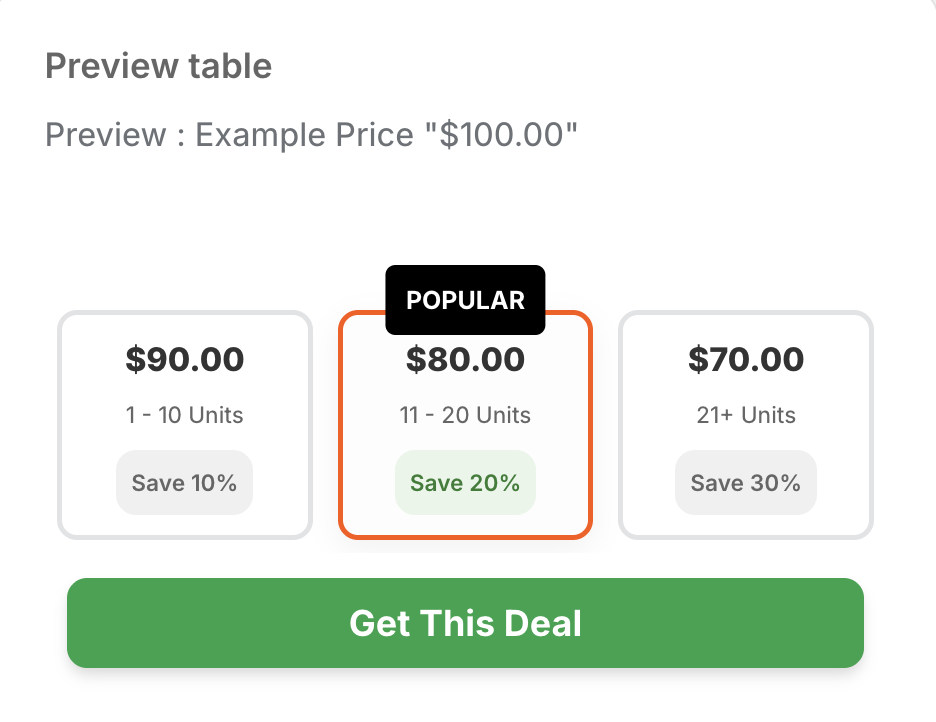
The Volume Grid widget presents discount tiers in a compact, card-style grid layout. This visual approach is perfect for highlighting multiple offers side-by-side, making it easy for customers to scan available quantity breaks and savings at a glance.
Step 1: Prerequisites
Before proceeding, please ensure you have installed the app and enabled the App Embed. For detailed instructions, refer to the Getting Started guide.
Note: The App Embed must be enabled for the bundles to appear on your storefront.
Step 2: Select Volume Grid
Go to the Actix Bundle dashboard, click on the Bundles tab, and select the Volume Grid option.
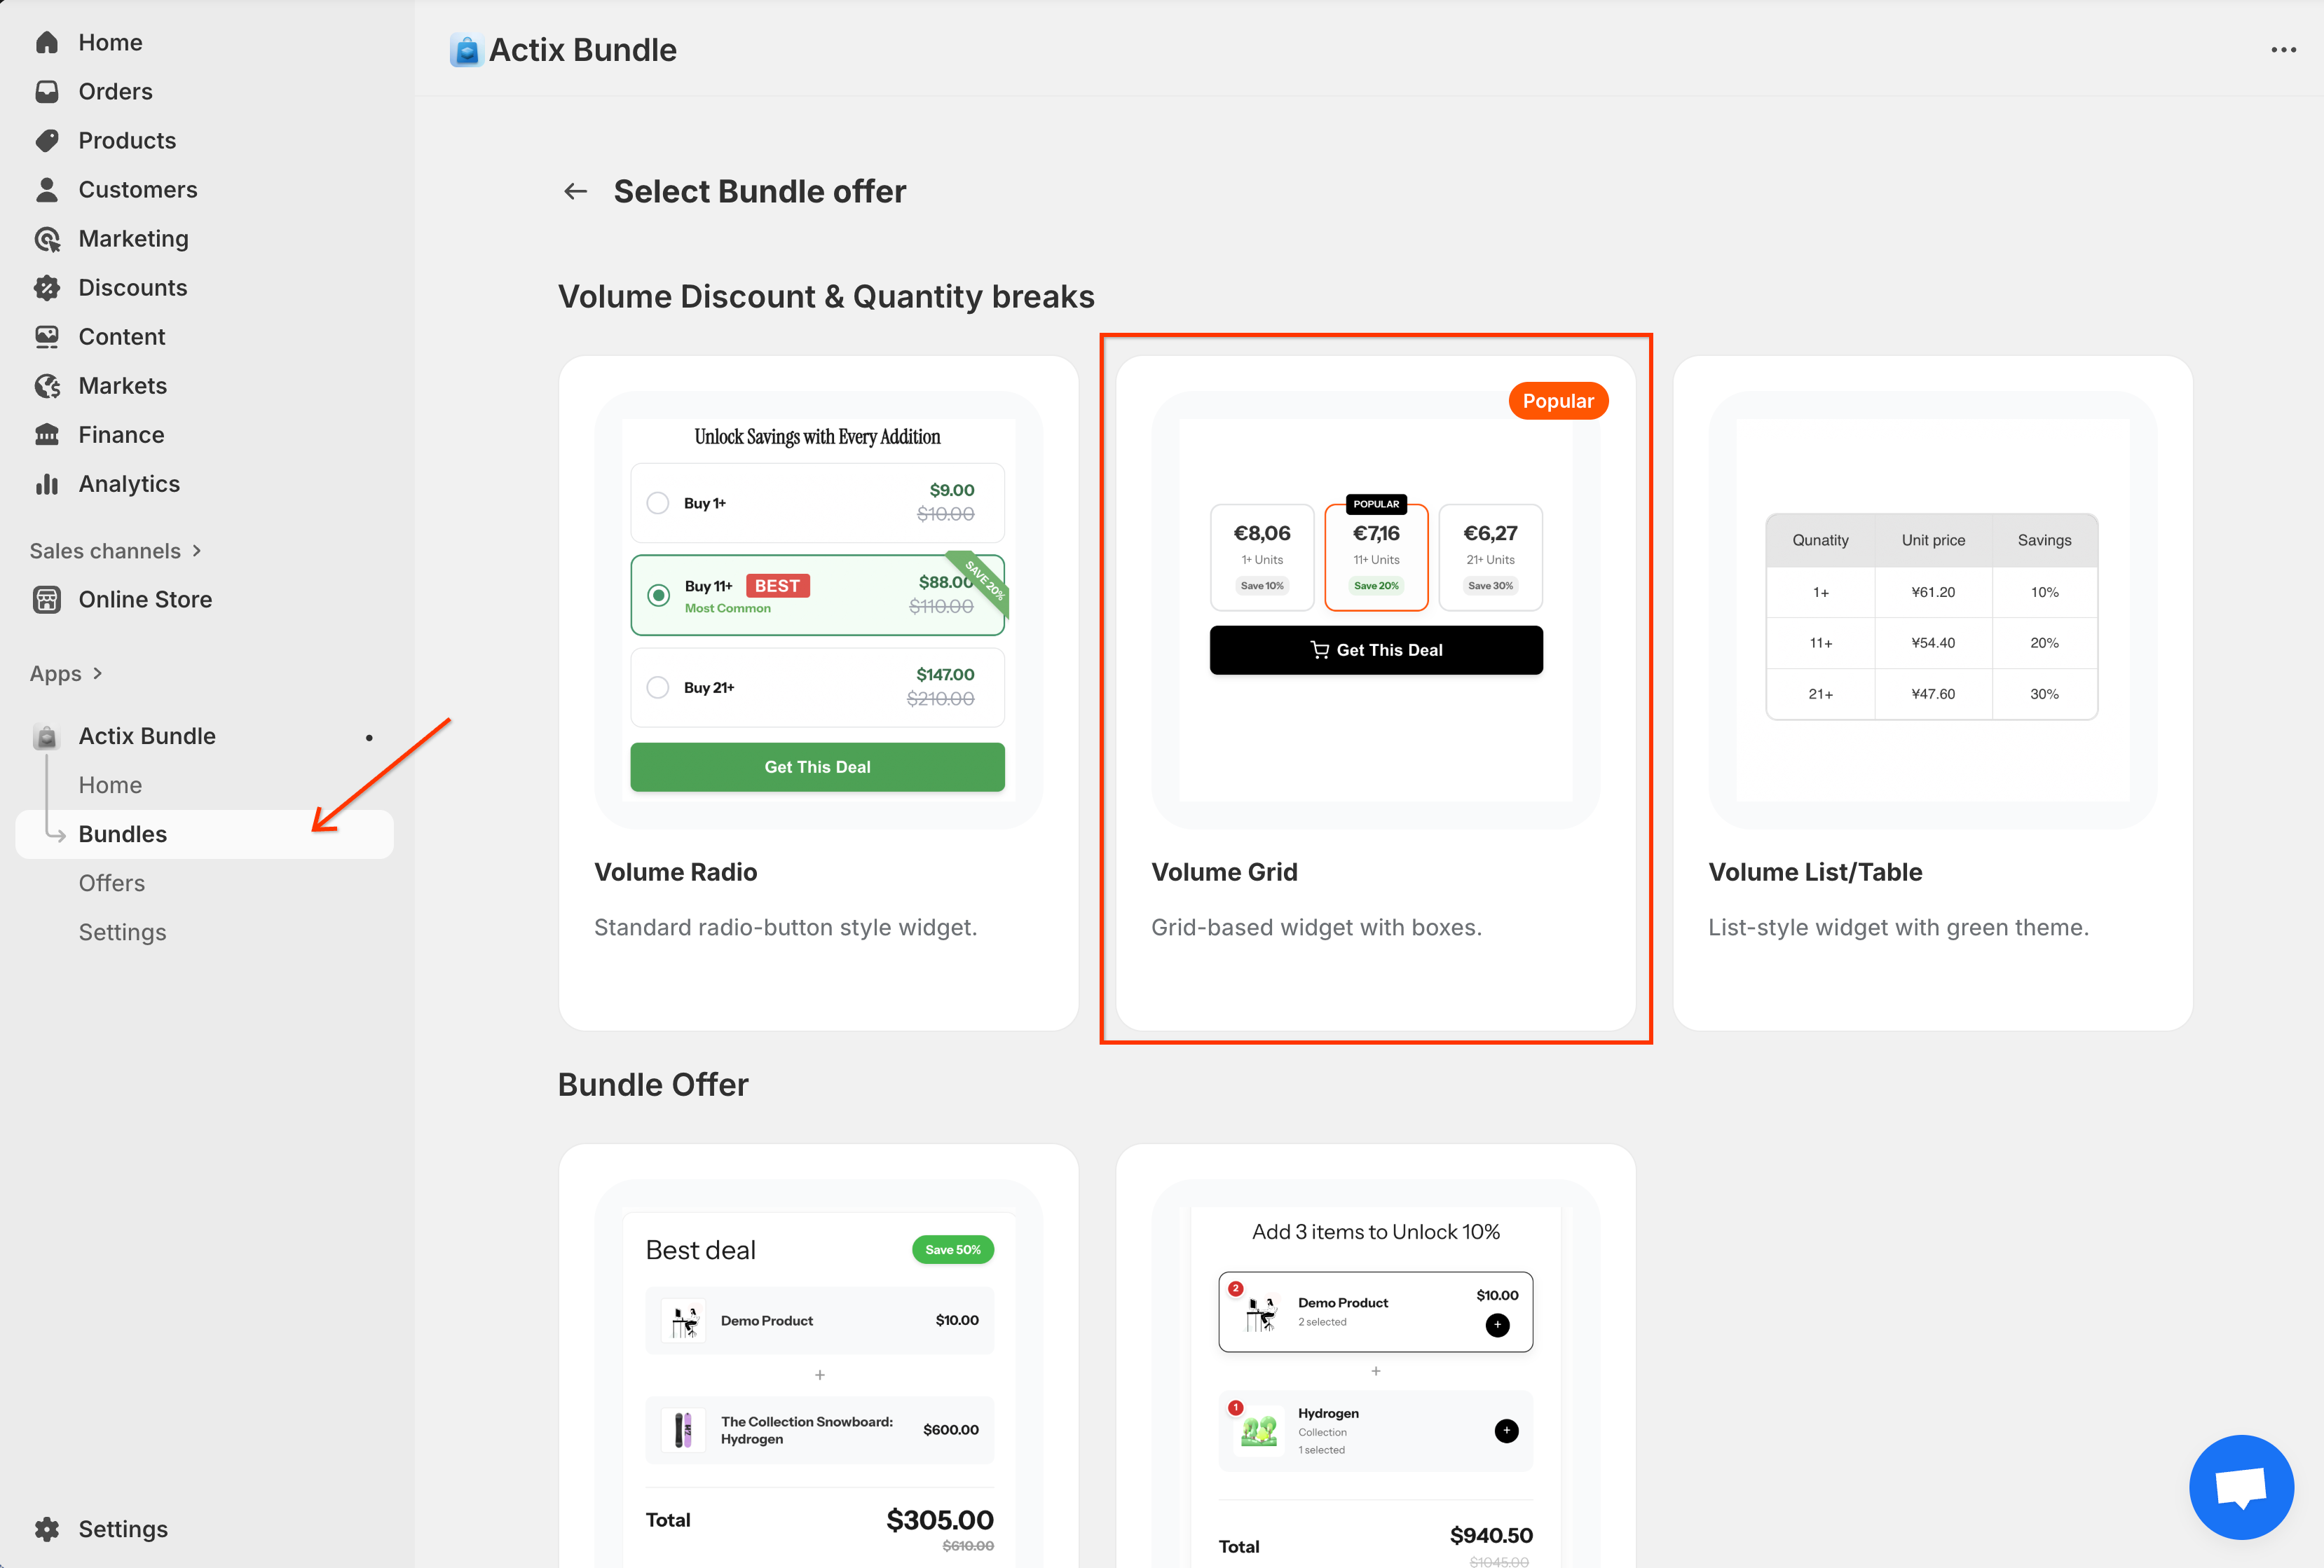
This will open the Volume Grid form page, where you can configure the discount either for a specific product or for a specific variant.
Step 3: Configure General Settings
General Settings allow you to define the basic details of your volume discount.
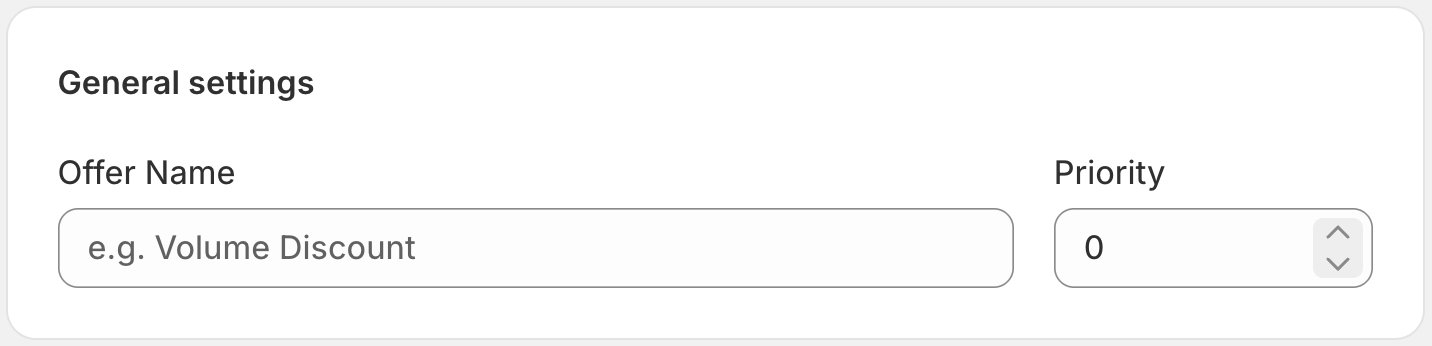
- Offer Name: Internal name for identifying this rule.
- Priority: Determines application order if multiple rules apply (higher numbers take precedence).
Step 4: Define Applied Customers
Control which customers are eligible for this discount.
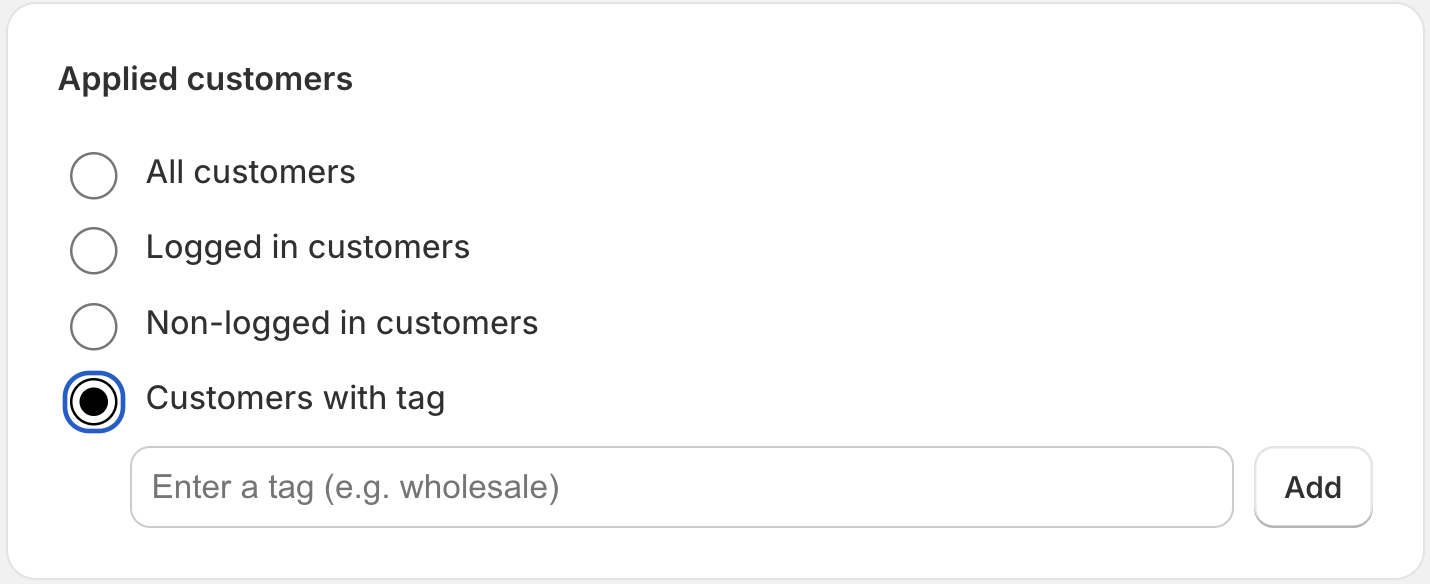
- All customers: Available to everyone.
- Logged in customers: Only for signed-in accounts.
- Non-logged in customers: Only for guest visitors.
- Customers with tag: Restricted to customers with specific profile tags.
Step 5: Set Product Conditions
Determine which products this discount rule applies to.
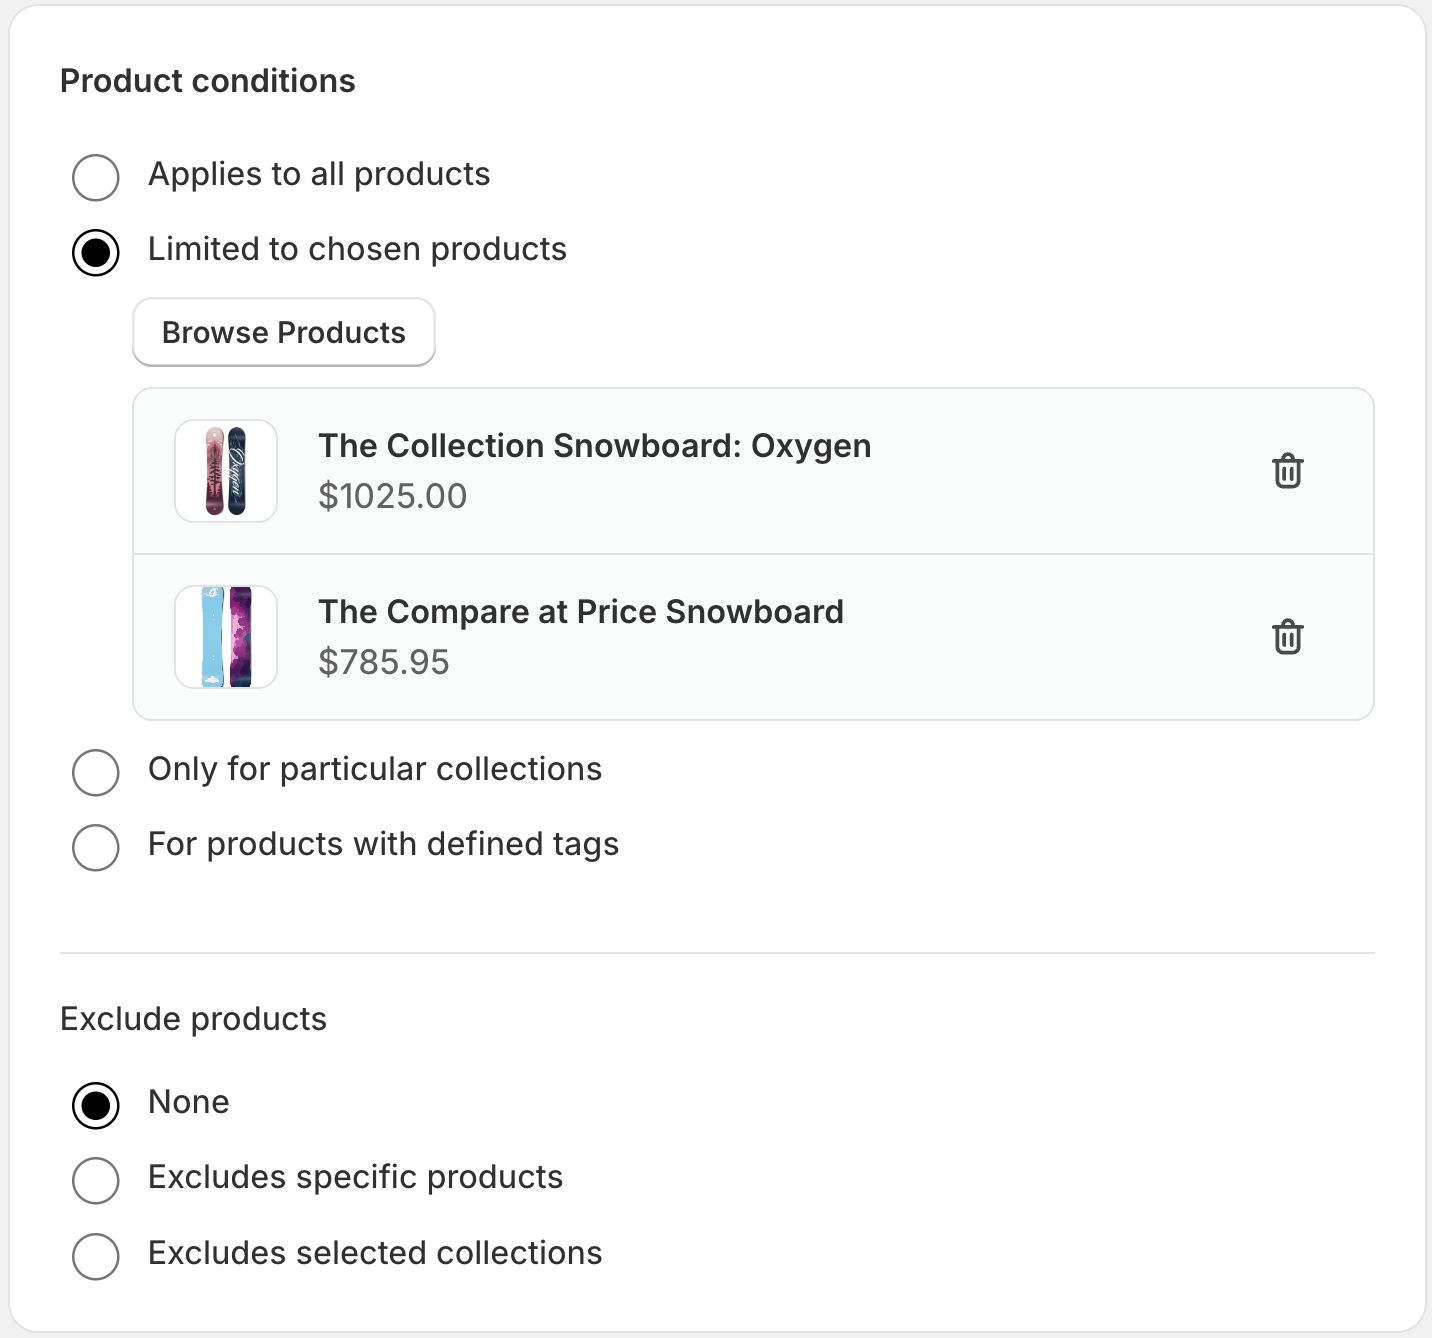
- All products: Applies to every product.
- Specific products: Select specific products only.
- Specific collections: Apply to entire collections.
- Products with tag: Dynamic selection based on product tags.
- Exclude products: Explicitly exclude items even if they match other criteria.
Step 6: Configure Volume Tiers
This is the core configuration for the Volume Grid widget.
- Enable Toggle: Switch to On to activate the discount.
- Add Range: Create new quantity tiers.
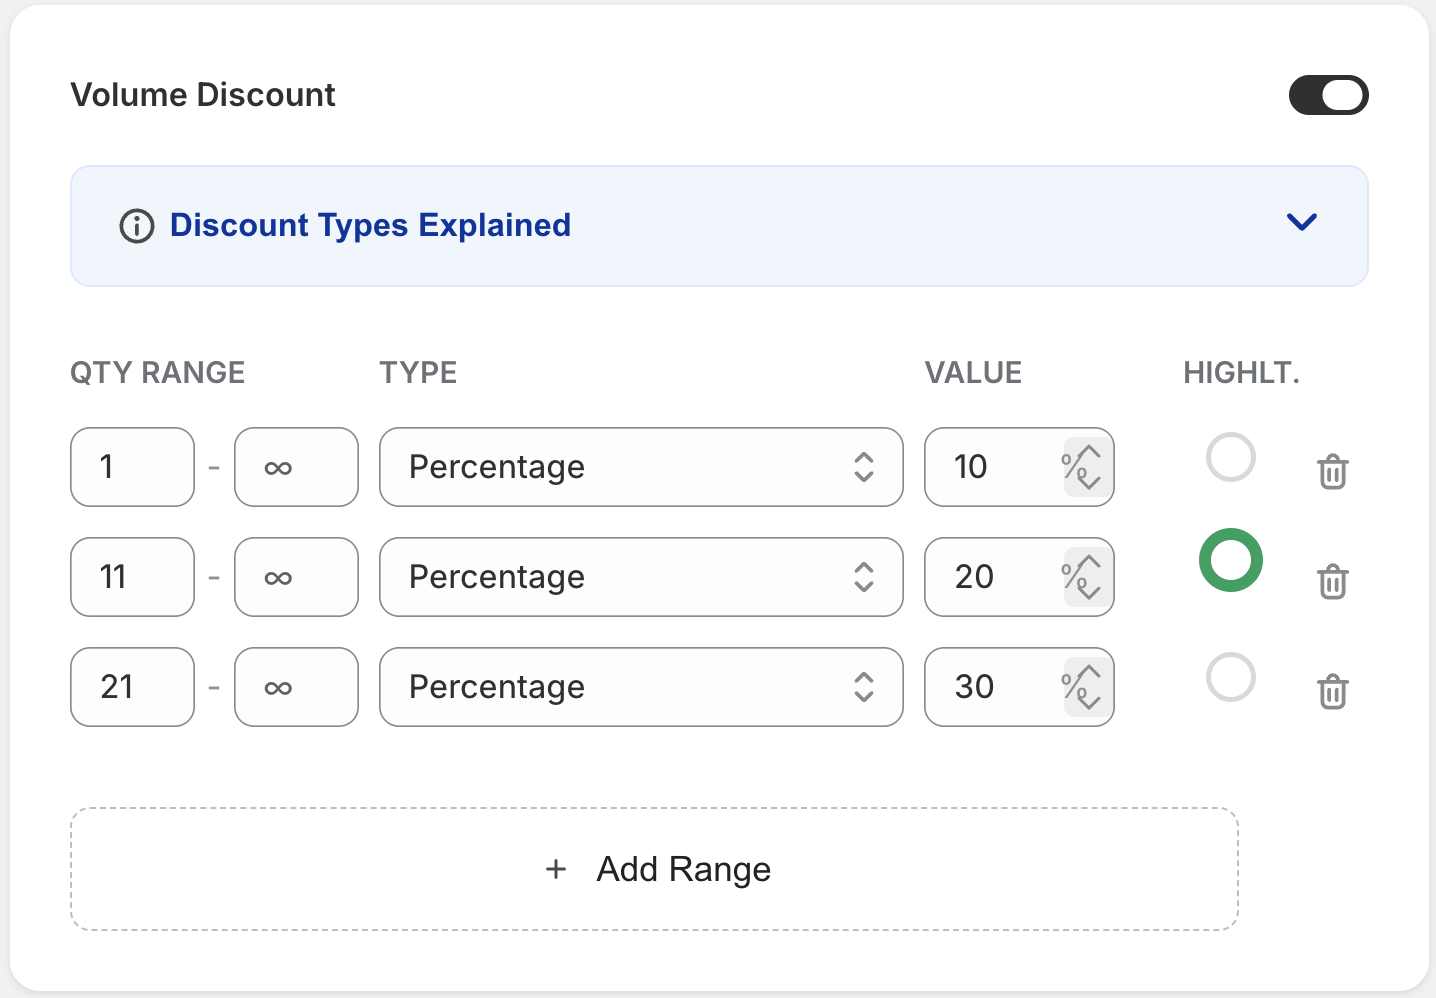
Quantity Range Options
Closed Range (e.g., Buy 1 - 10) Enter a start and end quantity.
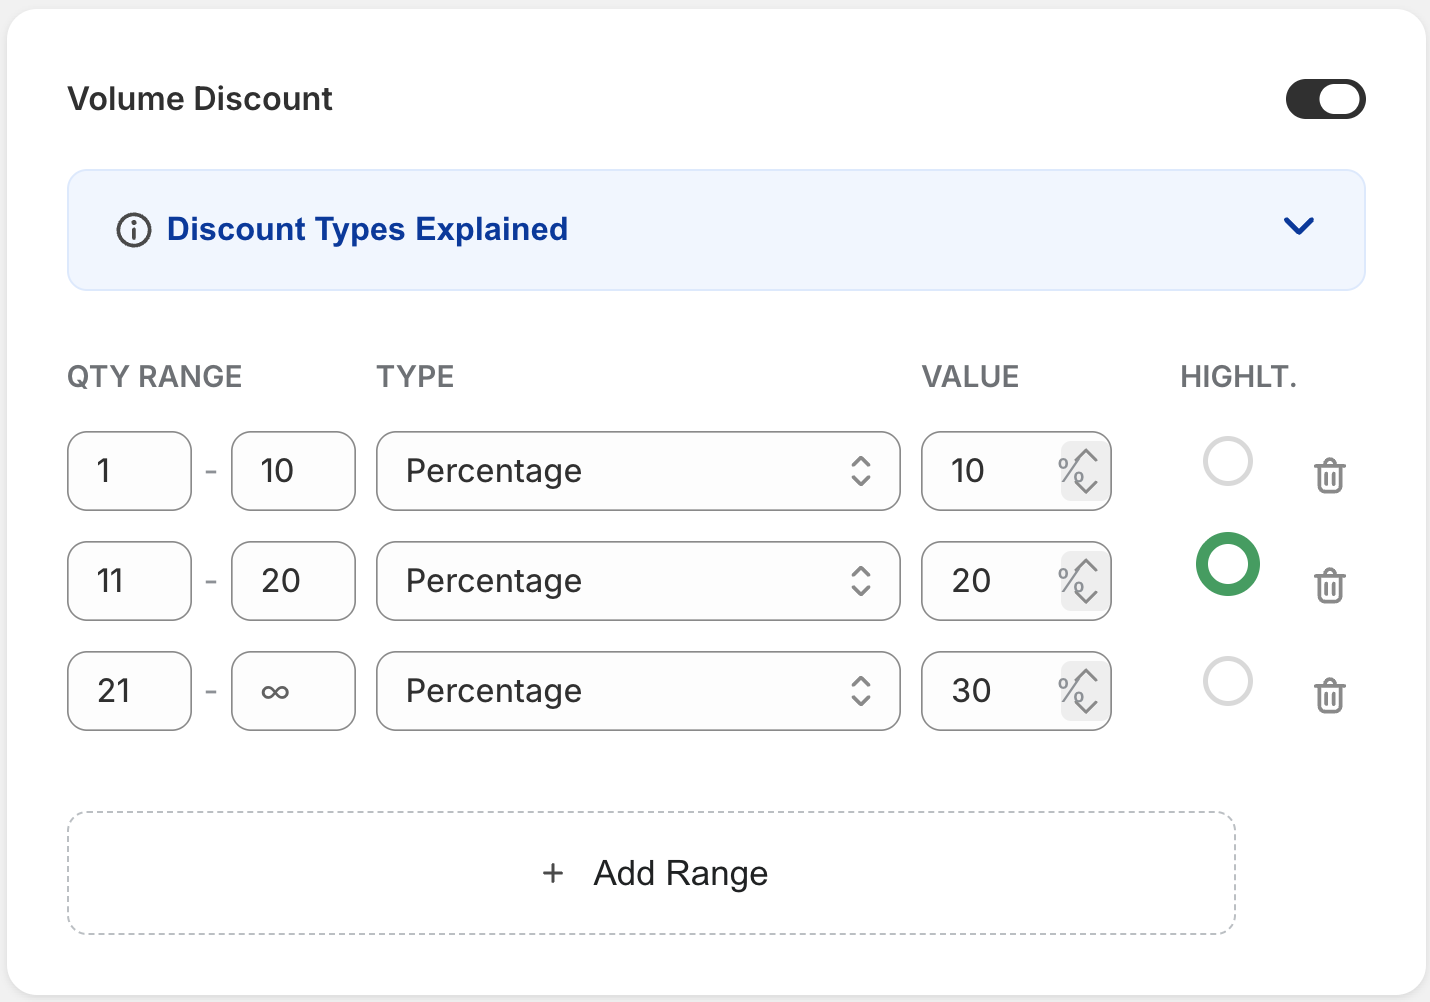
Open-Ended Range (e.g., Buy 1+) Enter a start quantity and leave the end quantity blank.

Discount Settings
- Discount Type: Percentage (%) or Fixed Amount ($).
- Discount Value: Numerical value of the discount.
- Highlight: Mark a range as "Best Value" to highlight it on the storefront.
Step 7: Manage Combinations
Control how this discount interacts with other discounts.
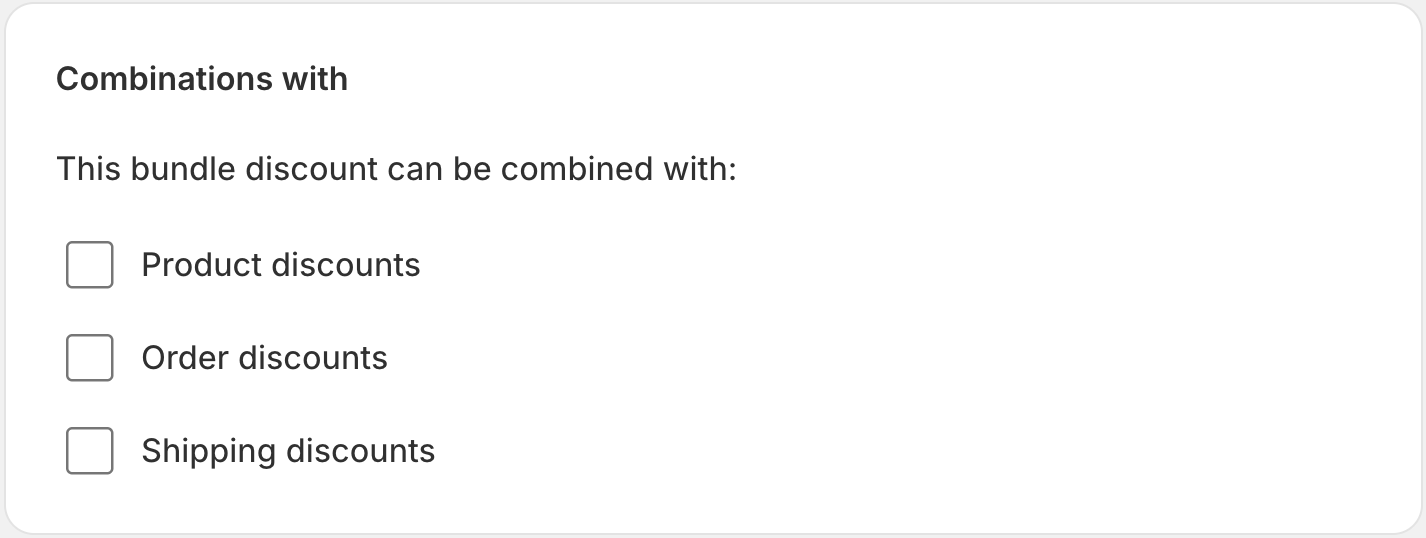
- Order Discounts: Allow combination with order-level coupons.
- Product Discounts: Stack with other product-level discounts.
- Shipping Discounts: Apply even if shipping discounts are present.
Step 8: Schedule Active Dates
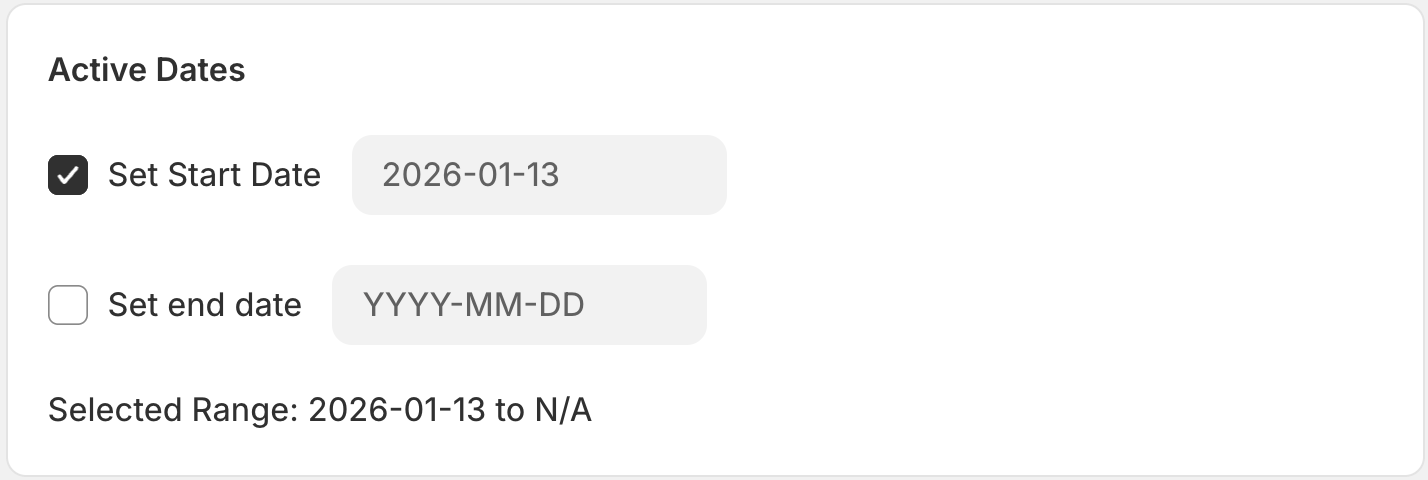
- Start Date: When the discount begins.
- End Date: (Optional) When the discount automatically expires.
Step 9: Review Summary
Manage the status and language settings.
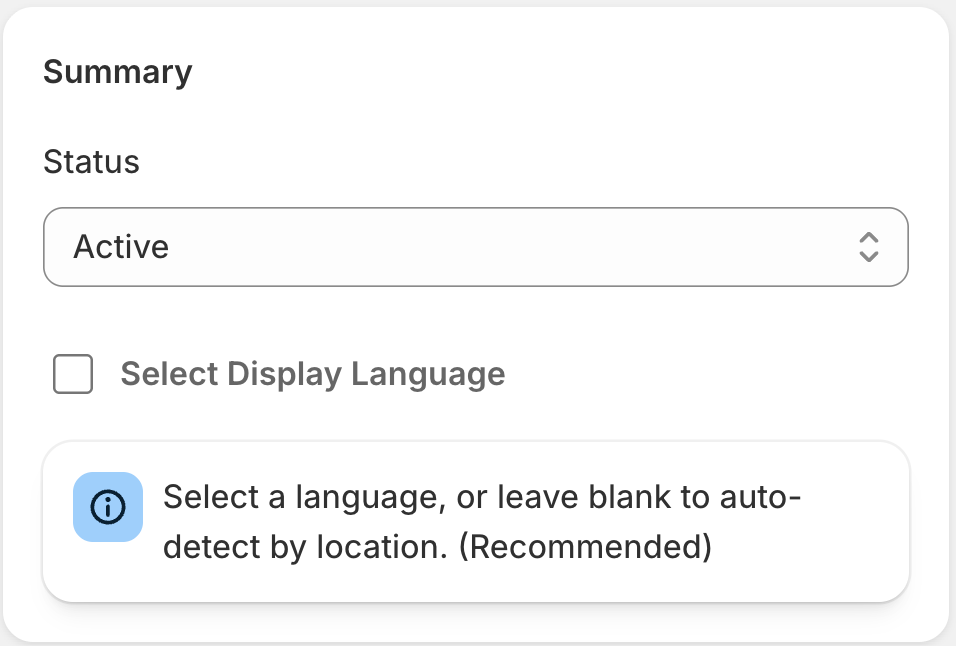
- Status: Draft (inactive) or Active (live).
- Select Display Language: Widget language (leave blank for auto-detection).
Step 10: Save and Publish
Click the Save button to publish your discount.
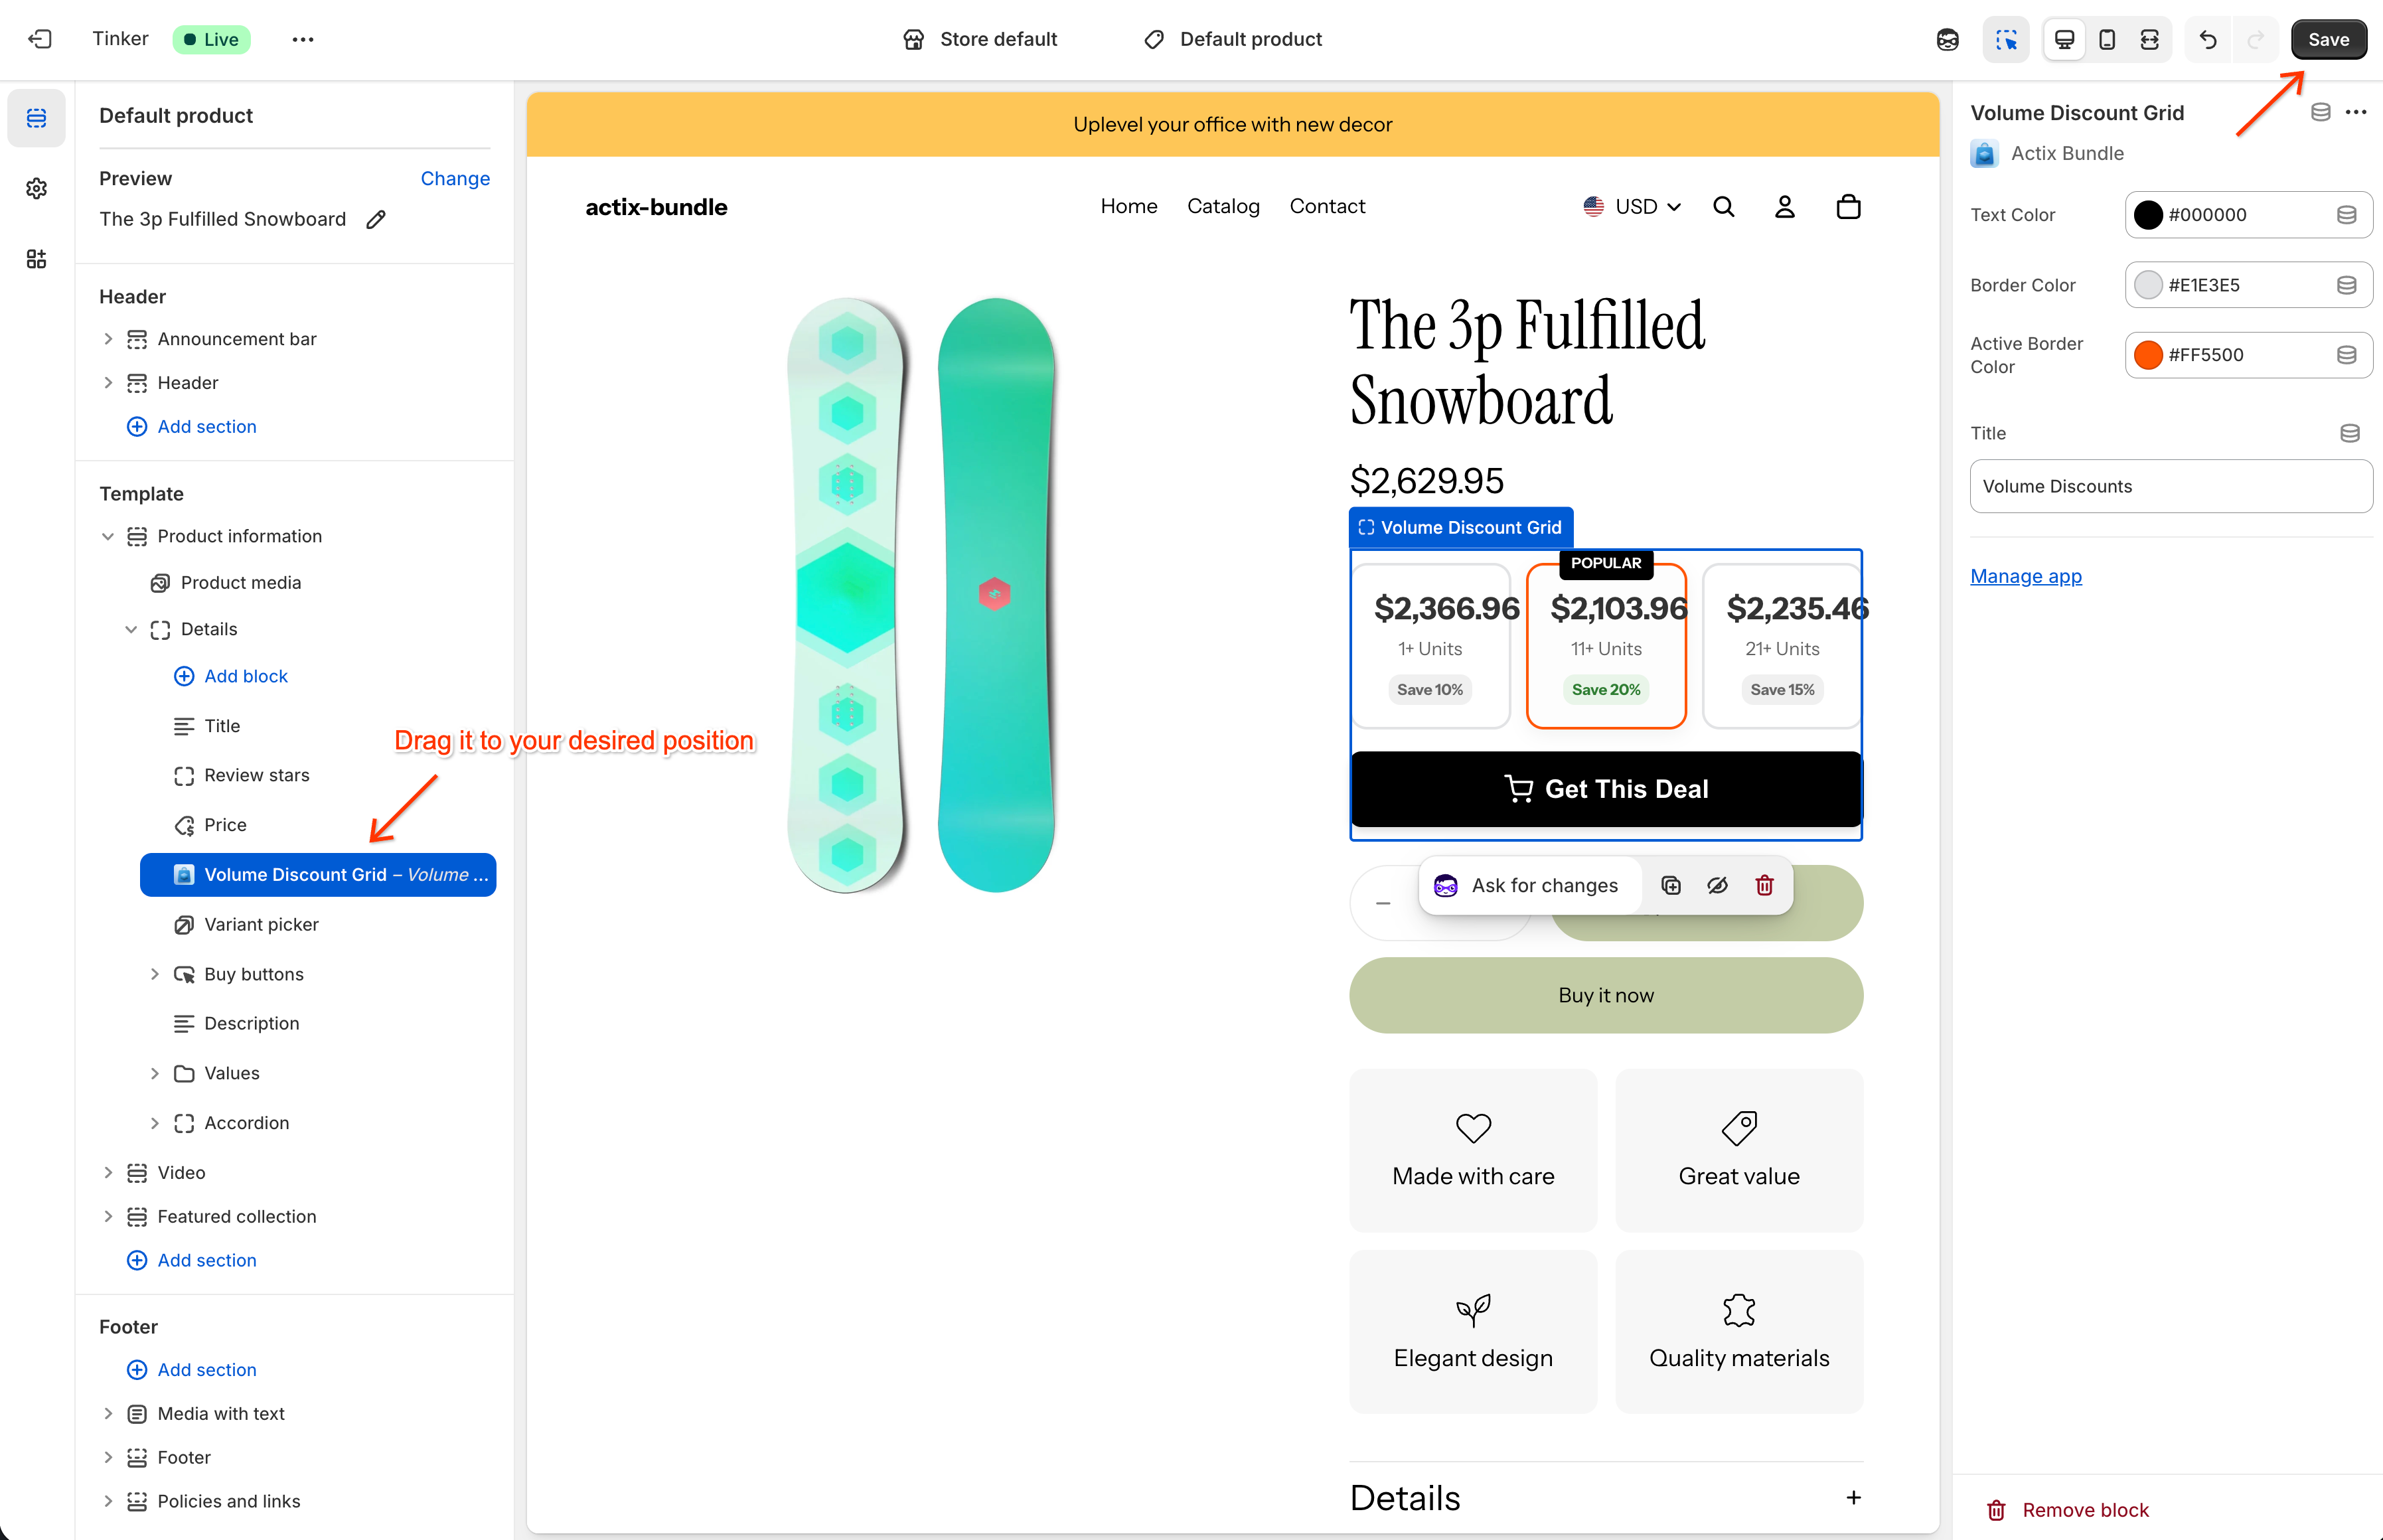
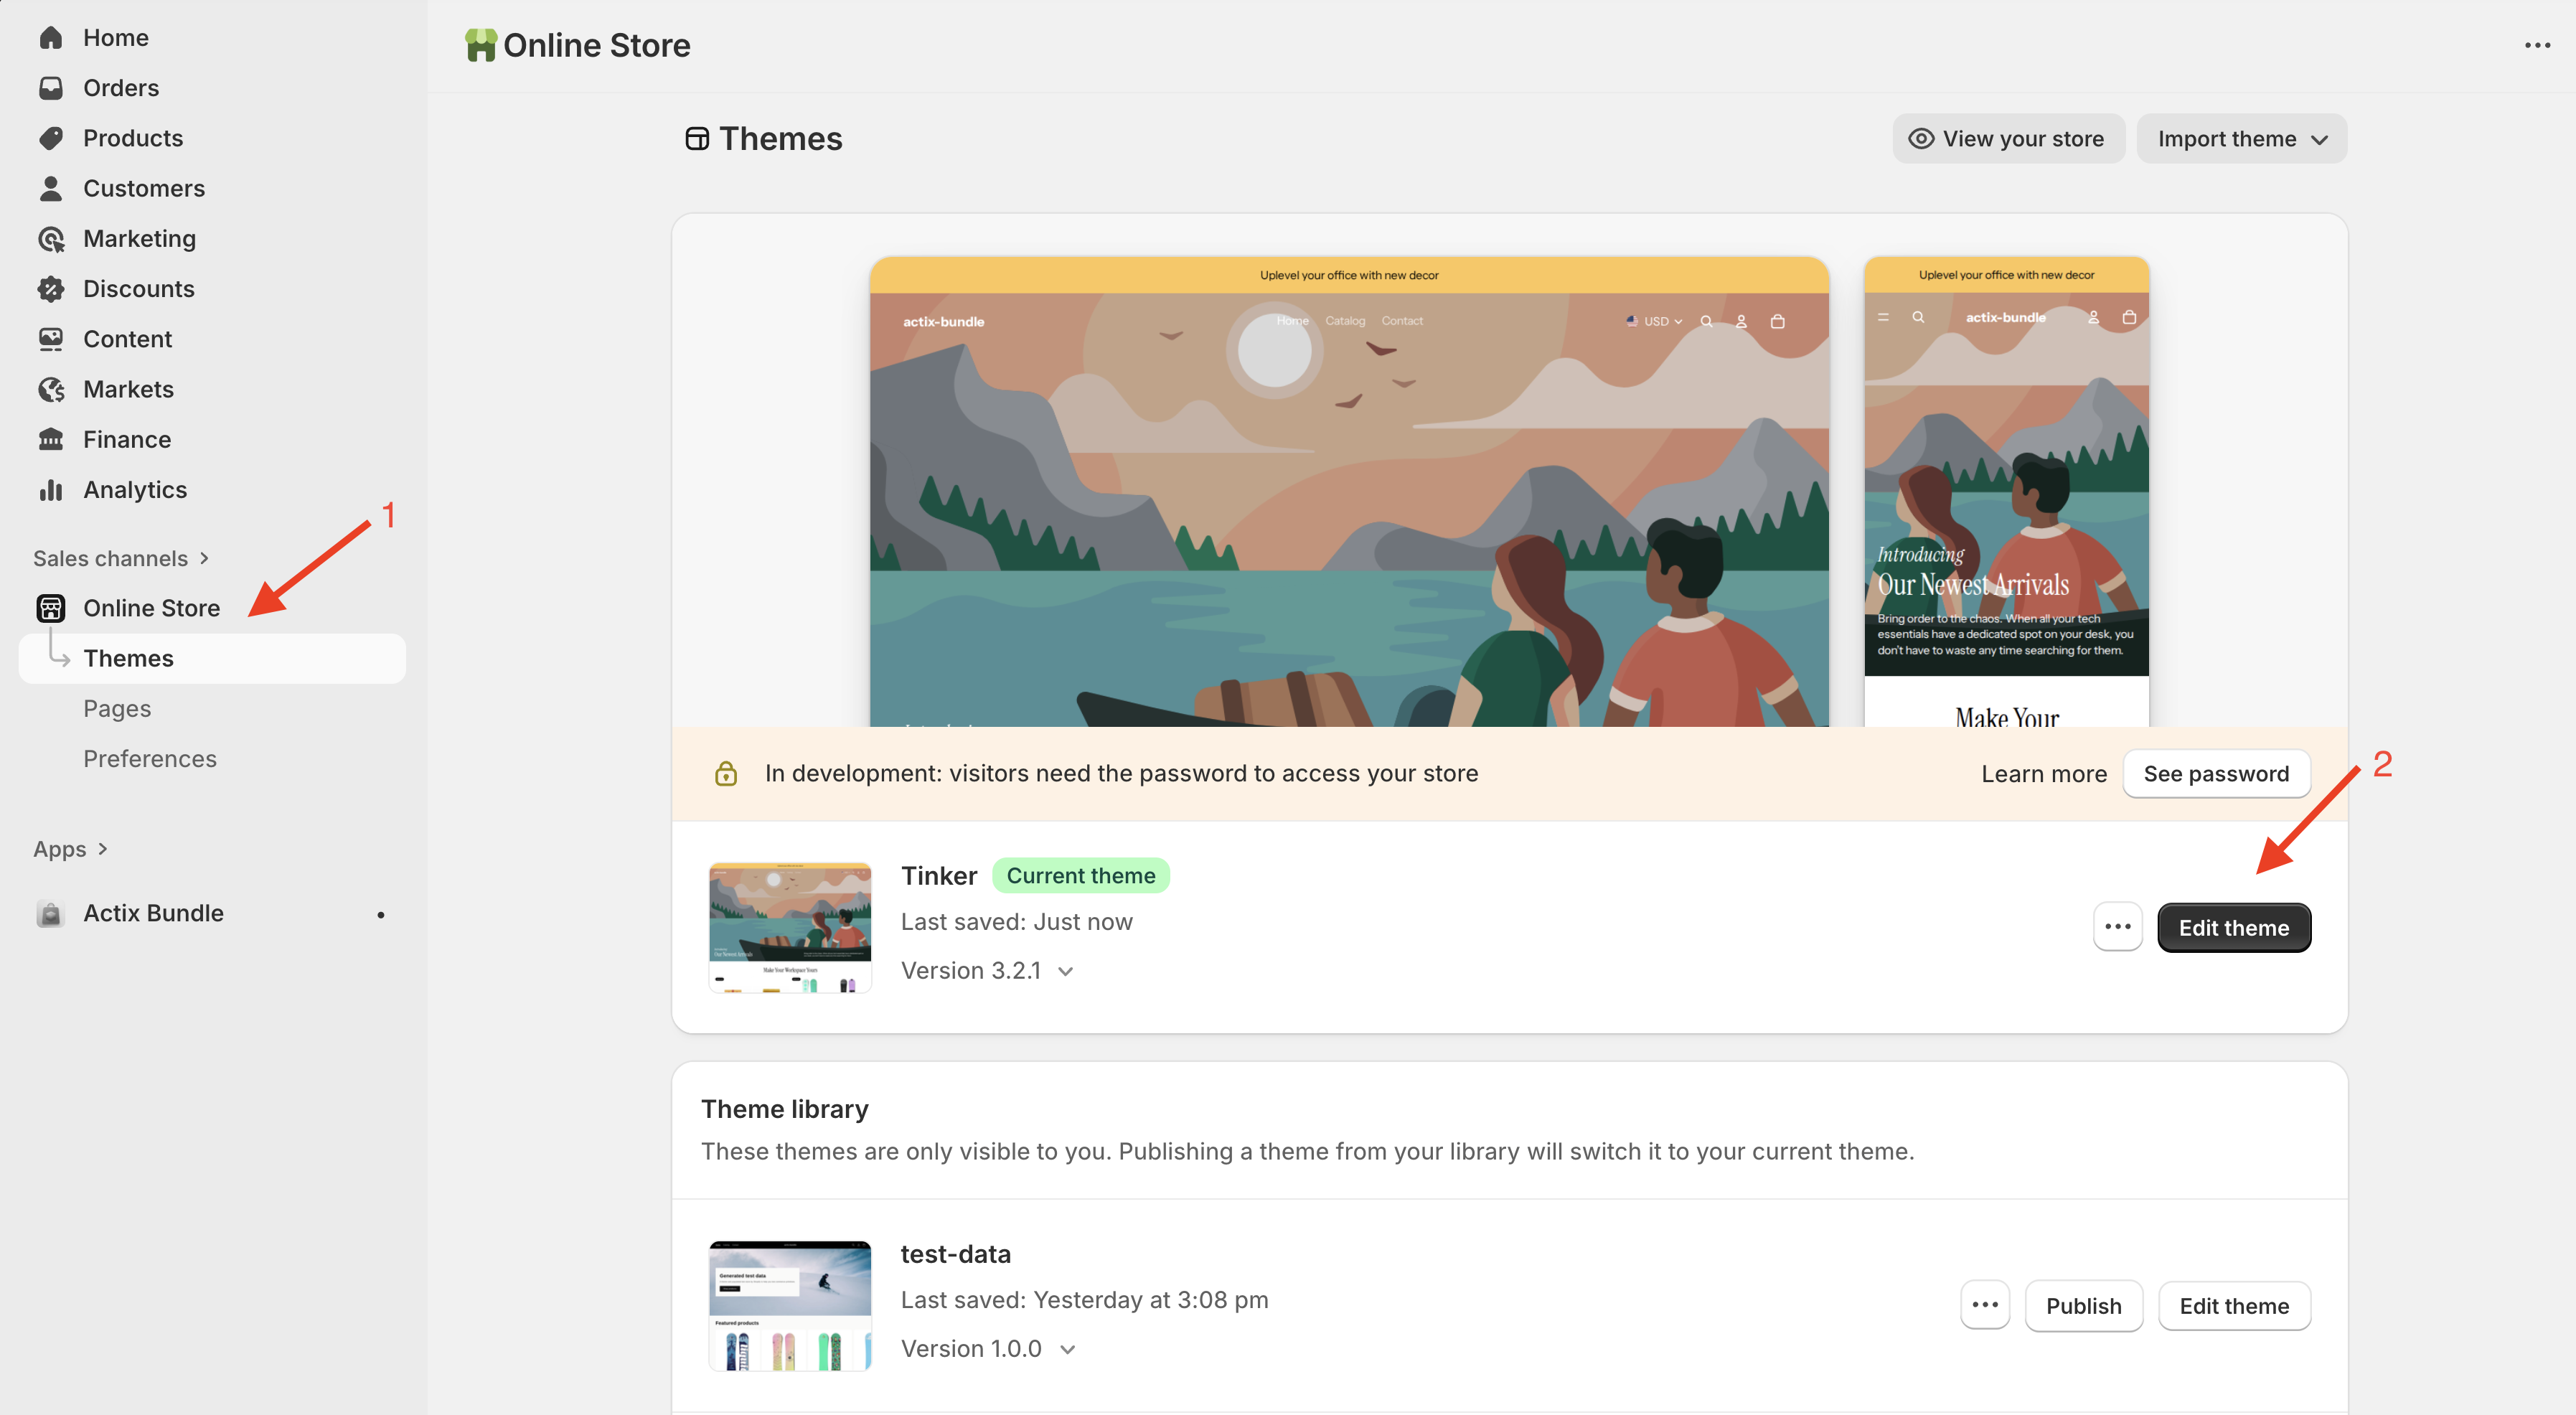
Step 11: Add Widget to Storefront
To display the Volume Grid widget on your product pages, you need to add it via the Shopify Theme Editor.
- Open Theme Editor: Click on the Go to theme editor button (or navigate to Online Store > Themes > Edit Theme).
- Add Block: In the theme editor, go to the Product information section and click Add block. Select Actix Standard Volume from the list.
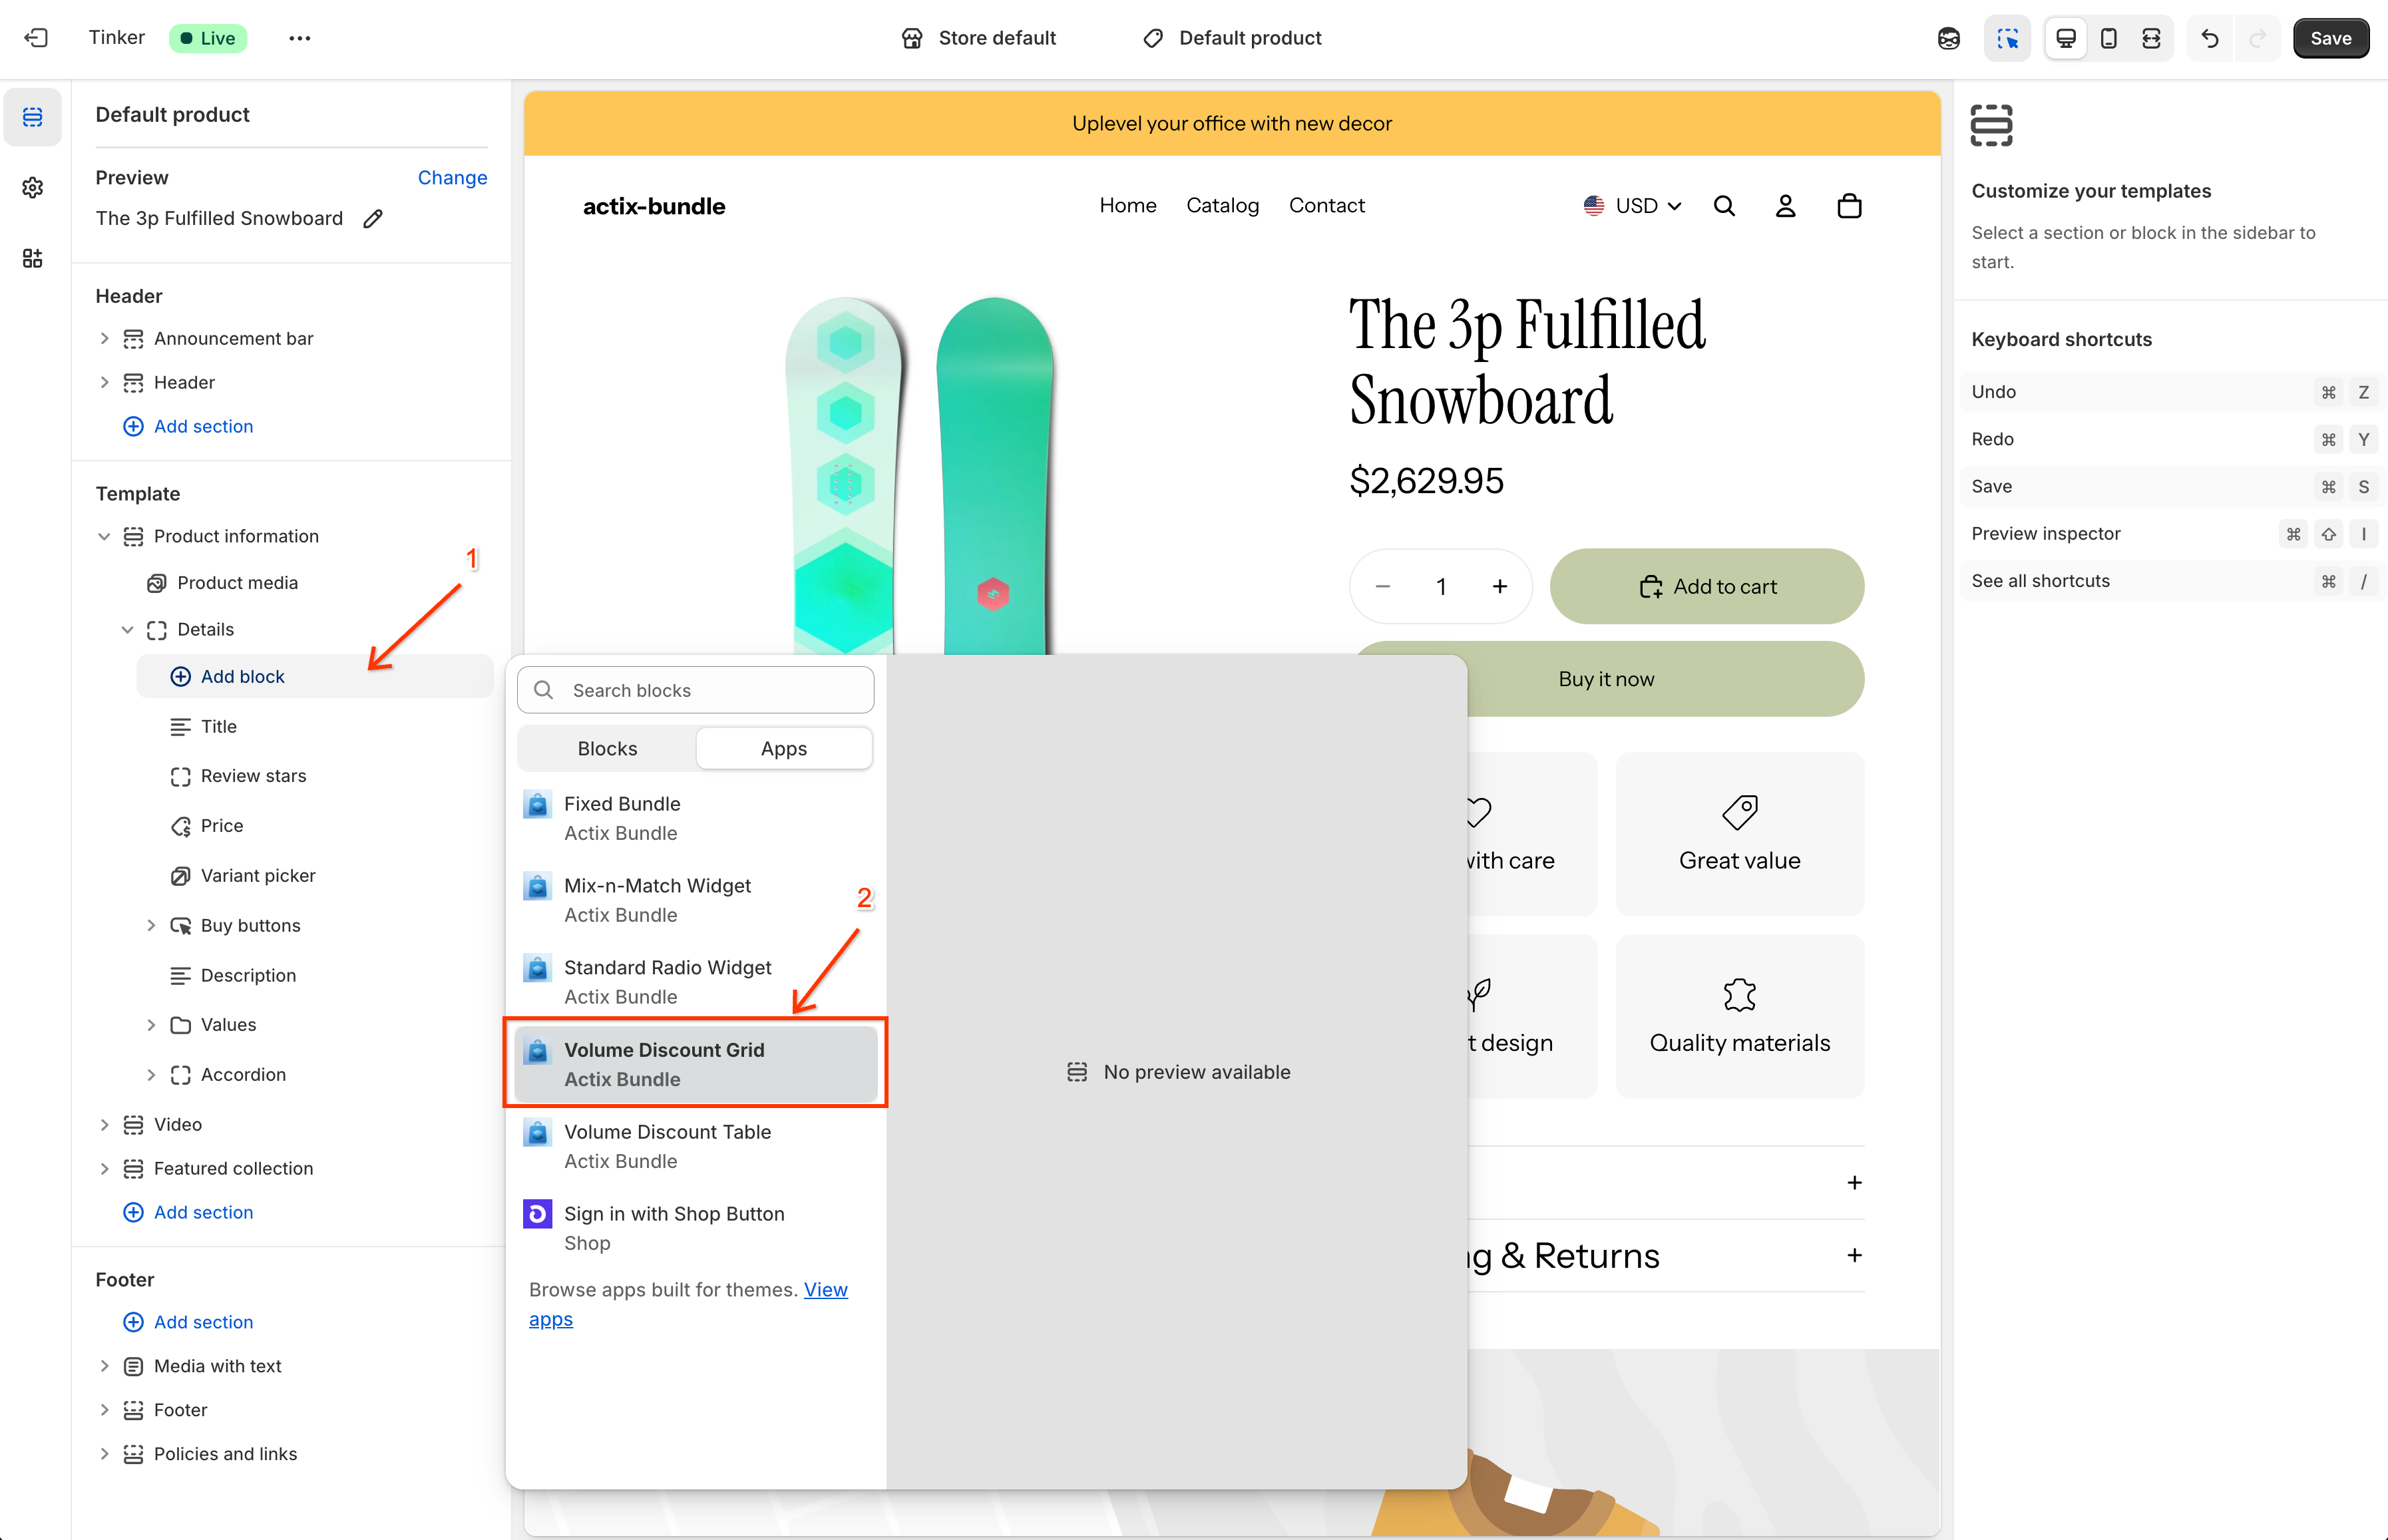
- Position Widget: Drag the Actix Standard Volume block to your desired location (e.g., above the Buy buttons).
- Save: Click Save in the top right corner to publish the changes.